01 Mm Bo105 (maintenance Manual) Aeronaves.pdf
This document was uploaded by user and they confirmed that they have the permission to share it. If you are author or own the copyright of this book, please report to us by using this DMCA report form. Report DMCA
Overview
Download & View 01 Mm Bo105 (maintenance Manual) Aeronaves.pdf as PDF for free.
More details
- Words: 508,192
- Pages: 2,535
Related Documents

01 Mm Bo105 (maintenance Manual) Aeronaves.pdf
February 2021 0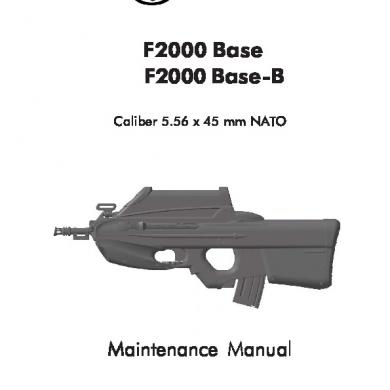


Maintenance Manual
February 2021 1
Mm Super User Manual
February 2021 1
01.preventive Maintenance Routine_24.09.2012
January 2021 0More Documents from "Nurun Nadjihah"
01 Mm Bo105 (maintenance Manual) Aeronaves.pdf
February 2021 0


Modulo 3
March 2021 0
